Running FactoryTX VM in ESXi
One of the many ways to run the FactoryTX VM is with an ESXi hypervisor. Let’s walk through the steps on how to configure and run the FactoryTX VM. It should be noted that we are using VMWare ESXi v6.7.0 in our test lab and that the screenshots in the article are using the web client.
Upload FactoryTX VM files to Datastore
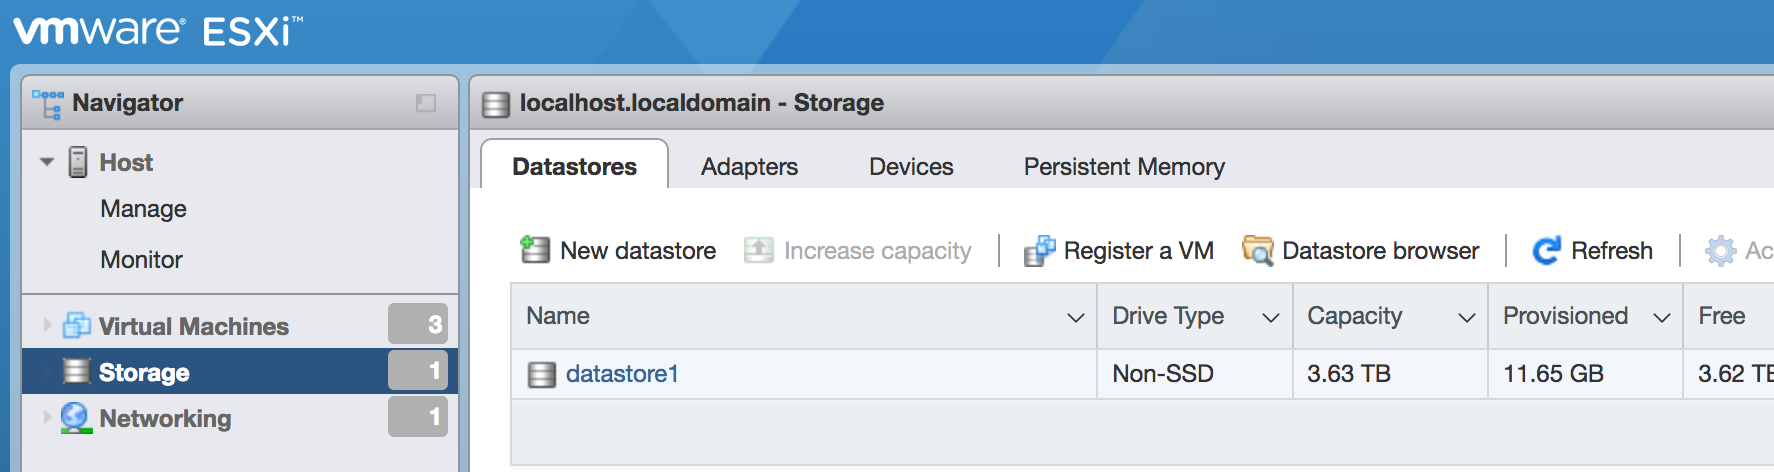
With our FactoryTX VM files (e.g. factorytx-os.vmdk and factorytx-data.vmdk files) stored on our local device, connect and log in to the ESXi server. From the sidebar, navigate to the datastore.
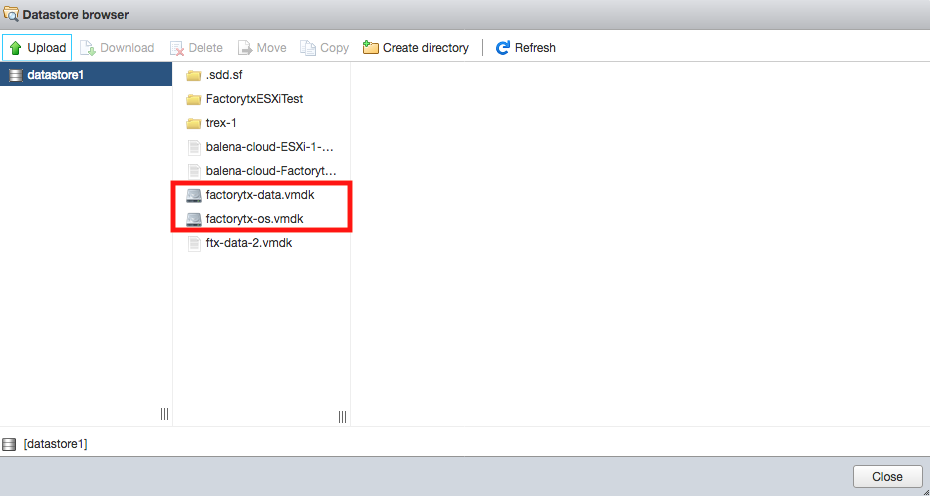
Open the Datstore browser and upload the FactoryTX VM files.
Create a new VM
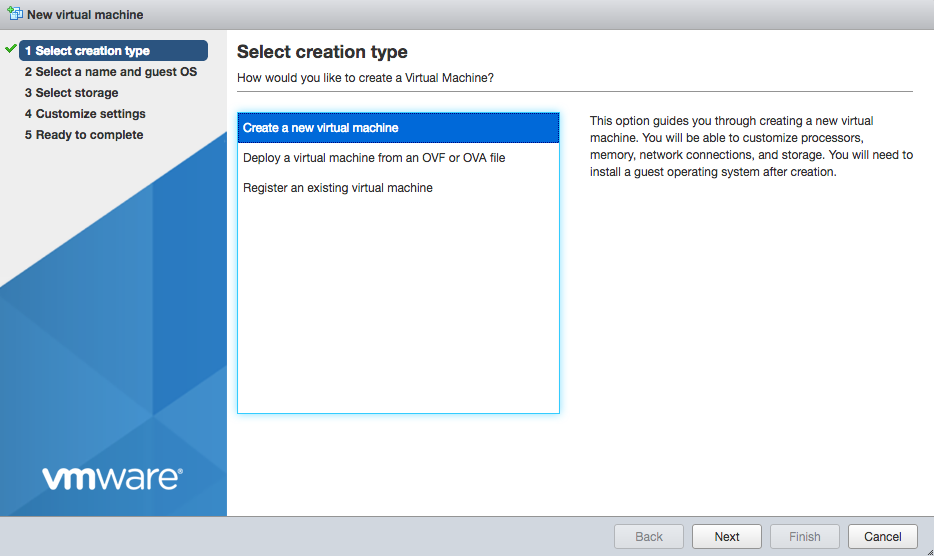
From the sidebar, navigate to the Virtual Machines menu and select the Create / Register VM button.

In the New virtual machine window, select the option to create a new virtual machine.
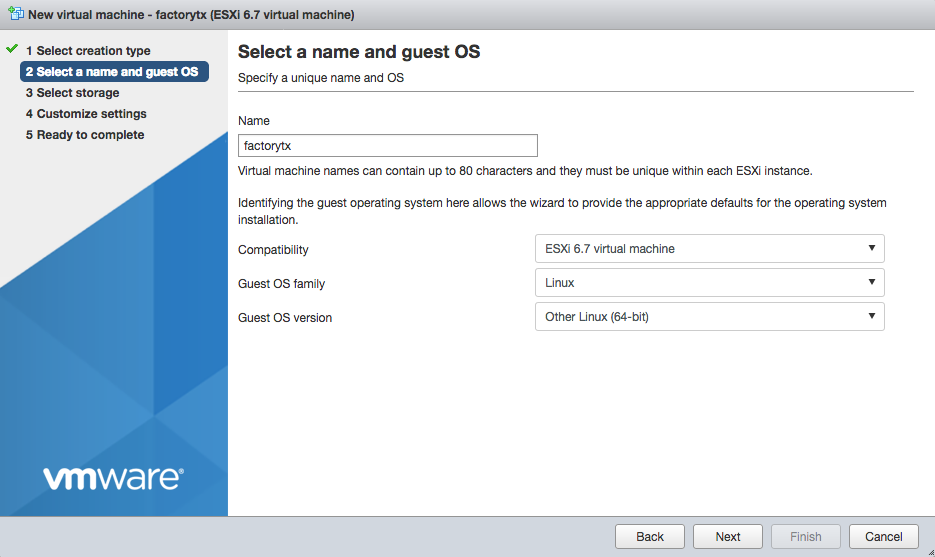
When prompted to select a name and guest OS for the virtual machine, select Linux for the OS family and Other Linux (64-bit) for the OS version.
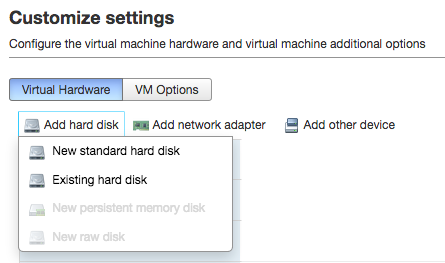
When customizing other VM settings, remove the pre-defined hard disk. Select Add hard disk, choose the option for an Existing hard disk, and select one of the FactoryTX VMDK files (e.g. factorytx-os.vmdk). Repeat this step, so that both FactoryTX VMDK files are set as the hard disks for the VM.
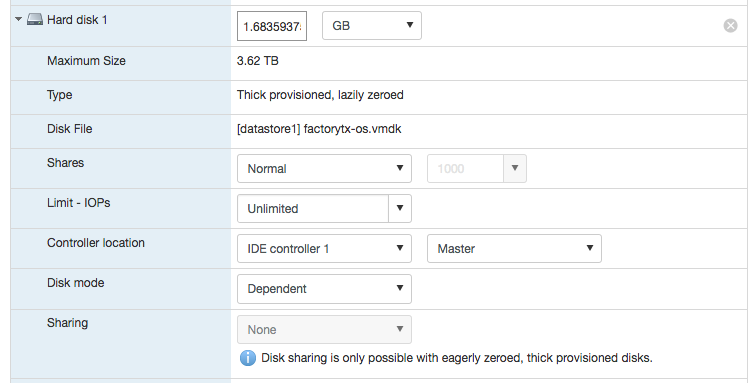
Open up the submenu for the OS hard disk and choose IDE controller 1 and Master.
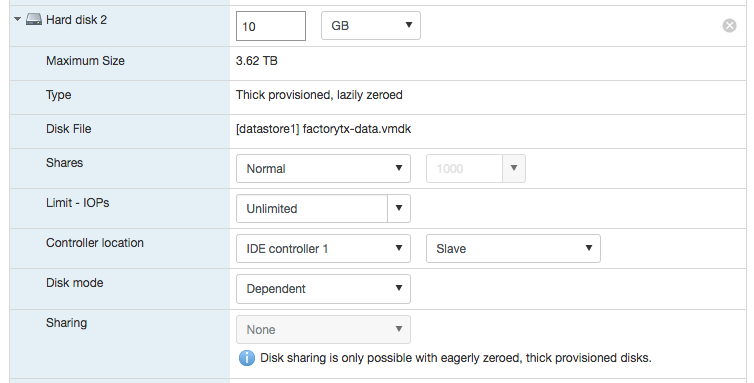
For the FactoryTX data hard disk, choose IDE controller 1 and Slave.
For the Network Adapter, select E1000e or E1000 as the Adapter Type.
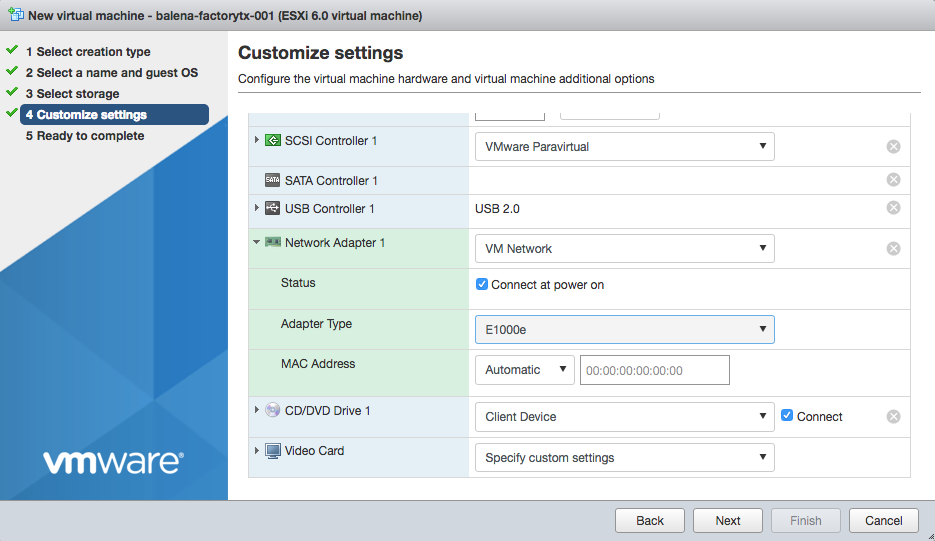
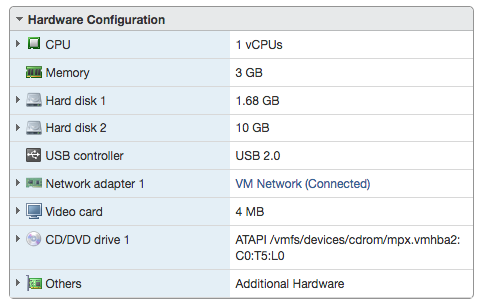
In summary, the hardware settings for the FactoryTX VM should be similar to:
Deploy code to VM
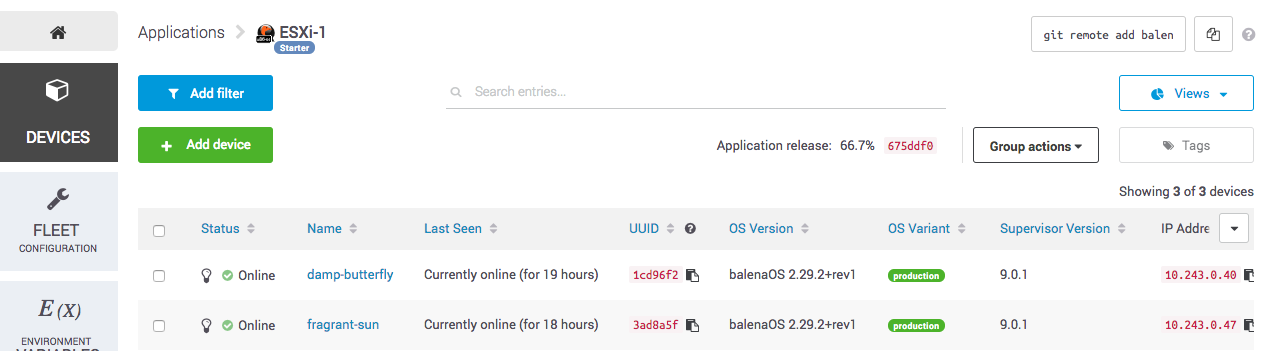
After powering on the FactoryTX VM, use a web browser and navigate to the Balena dashboard and check the application for a new device to appear.
To deploy FactoryTX code to the VM, open a Terminal window on your local machine: navigate to the desired FactoryTX directory; add the remote repository for the Balena application; and push code to the remote.
# If you want to deploy a factorytx-core instance
cd /opt/sightmachine/factorytx-core

# If you want to deploy a factorytx-<customer> instance
# Remember to replace "<customer>" with the customer name
cd /opt/sightmachine/factorytx-<customer>

# Command can be found in the application view of the Balena dashboard
git remote add balena g_urian_chang@git.balena-cloud.com:g_urian_chang/esxi-1.git

git push balena master